
Remember that iconic scene in *Friends* where Monica obsessively arranges every plate and utensil on the table? That same meticulous attention to detail applies to product and lifestyle photography – but don’t worry, you don’t need to be a professional chef or photographer to nail it. Capturing your crafts, DIY projects, or lifestyle moments in a visually appealing way can feel overwhelming, but with a few strategic hacks, you can elevate your imagery without losing hours to trial and error.
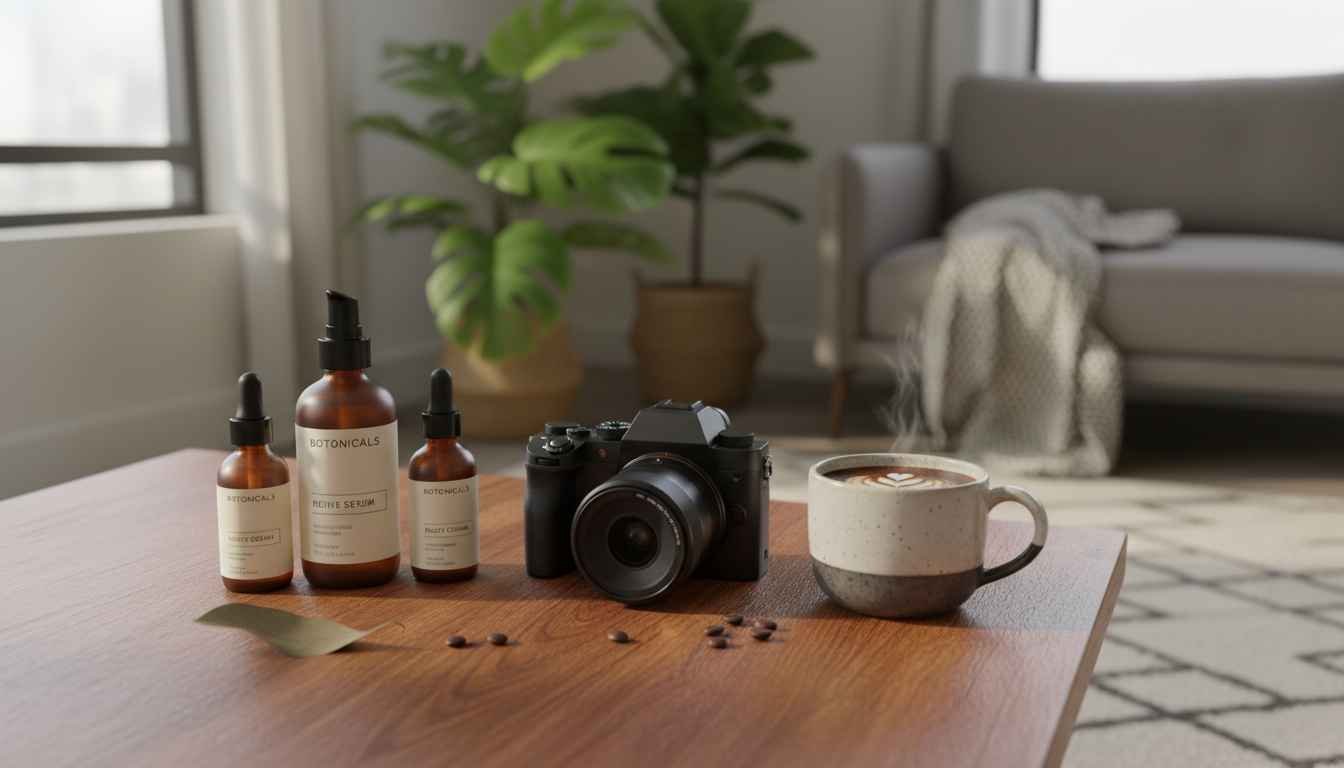
First off, understanding the difference between product and lifestyle photography is key. Product photography focuses on the item itself – clear, well-lit, and free from distractions. Lifestyle photography, on the other hand, tells a story around the product, placing it in a context that resonates with your audience. Think of a hand-knitted scarf displayed on a cozy couch versus the scarf neatly folded on a white background. Both have value, but they serve different purposes in marketing and content sharing.
Lighting is your secret weapon. Natural light is often the easiest and most flattering for both product and lifestyle shots. Position your setup near a window, and use white reflectors (or even a simple sheet of white paper) to bounce light evenly. Avoid harsh midday sunlight, which can create unwanted shadows. If natural light isn’t an option, invest in affordable LED panels with adjustable brightness and color temperature. This setup saves you time in post-processing and ensures your photos maintain a consistent aesthetic.
Props and backgrounds can make or break your image. Minimalistic backgrounds are excellent for product photography – they keep the focus on your item. For lifestyle shots, mix textures, colors, and small props to create a narrative. But beware of clutter. Too many items distract the eye, defeating the purpose of storytelling. As you experiment, you’ll develop a signature style that aligns with your brand and resonates with your audience.
One time-saving tip is to batch-shoot. Arrange multiple items or setups and photograph them all in one session. This reduces repetitive setup time and gives you a library of shots to draw from. Editing in batches can also speed up your workflow, especially if you create presets for color correction, exposure, and cropping. Tools like Lightroom or Canva are invaluable here, even for beginners.
For those seeking advice, inspiration, or peer feedback, communities like the Lettuce Craft Forums are a goldmine. You’ll find tutorials, project showcases, and tips from fellow crafters and hobbyists who have faced the same lighting struggles, composition dilemmas, and post-processing headaches you’re likely encountering.
Common Mistakes
Many beginners make these missteps: overcomplicating the setup, ignoring lighting quality, using too many props, or skipping post-processing entirely. These errors can make your product appear unprofessional and reduce engagement.
Who Should Avoid This?
Product and lifestyle photography isn’t for everyone. If you’re under extreme time constraints, lack basic tools, or have no interest in visual storytelling, attempting to force it may be counterproductive. Hiring a professional might be a better investment than spending hours learning techniques that don’t align with your goals.
Additional Tips for Efficiency
1. **Use a tripod:** Reduces blurry images and keeps your angles consistent.
2. **Plan your shots:** Sketch a rough storyboard or mood board before starting.
3. **Master one style first:** Don’t try to perfect both product and lifestyle photography simultaneously.
4. **Leverage smartphone technology:** Modern phones have excellent cameras – use portrait mode for depth and HDR for balanced lighting.
5. **Learn basic editing:** Even minor adjustments in brightness, contrast, and sharpness dramatically enhance your final image.
Finally, don’t hesitate to experiment. Sometimes, the most striking photos come from unconventional angles or unexpected lighting conditions. Be patient and keep refining your technique. Over time, your product and lifestyle photography will evolve naturally, saving you time while producing consistently compelling visuals that engage your audience.